
9 Yoga Poses to Improve Your Flexibility
1. Eye of the Needle Pose (Sucirandhrasana)
Eye of the needle pose is a lying-down (supine) yoga pose. It can aid in relieving stiffness in the lower back and the hips. This pose is great if you spend a lot of time sitting and have tightness in these areas.
HOW TO PRACTISE EYE OF THE NEEDLE POSE
Lie on your back, with the soles of your feet flat on the floor and knees bent.
Cross left ankle over the right knee.
Reach and clasp your hands behind the right thigh, reaching your left hand through the space where your left knee is bent, and lift your right foot off the floor.
Relaxing the shoulders, slightly pull the right knee towards your face (only stretch to what is comfortable), keeping your shoulders and head on the floor.
Repeat on the other side.
2. Downward Facing Dog Pose (Adho Mukha Svanasana)
One of the most widely-recognised Yoga poses, practising Downward Facing Dog pose will improve circulation, strengthen your core and give your whole body a great stretch.
This pose can help you to build full-body flexibility and strength, strengthen your wrists, arms and shoulders.

HOW TO PRACTISE DOWNWARD FACING DOG POSE
Begin by kneeling on the floor, and place your hands and wrists underneath the shoulders (as if practising cat-cow).
Push your hips up and slightly back, and anchoring the heels downwards towards the floor - don’t worry if your heels don’t touch the floor.
Feel a stretch in the backs of the legs. Push your hips upwards and back, and turn your gaze towards the space between the thighs. Hold for at least 30 seconds.
3. Yogi Squat (Malasana)
One of the best hip opening poses, the Yogi Squat or Malasana, is great for your hips and lower back. It’s good for digestion and it will also help to strengthen those leg muscles!

HOW TO PRACTISE MALASANA
Begin by placing your feet hip width apart, toes pointed outwards.
Squat down, as low as you can go.
If you are able to squat down low, almost to the floor, place your elbows on the inside of your knees, and centre yourself by bringing the hands together to your chest in Prayer Pose, or Pranamasana.
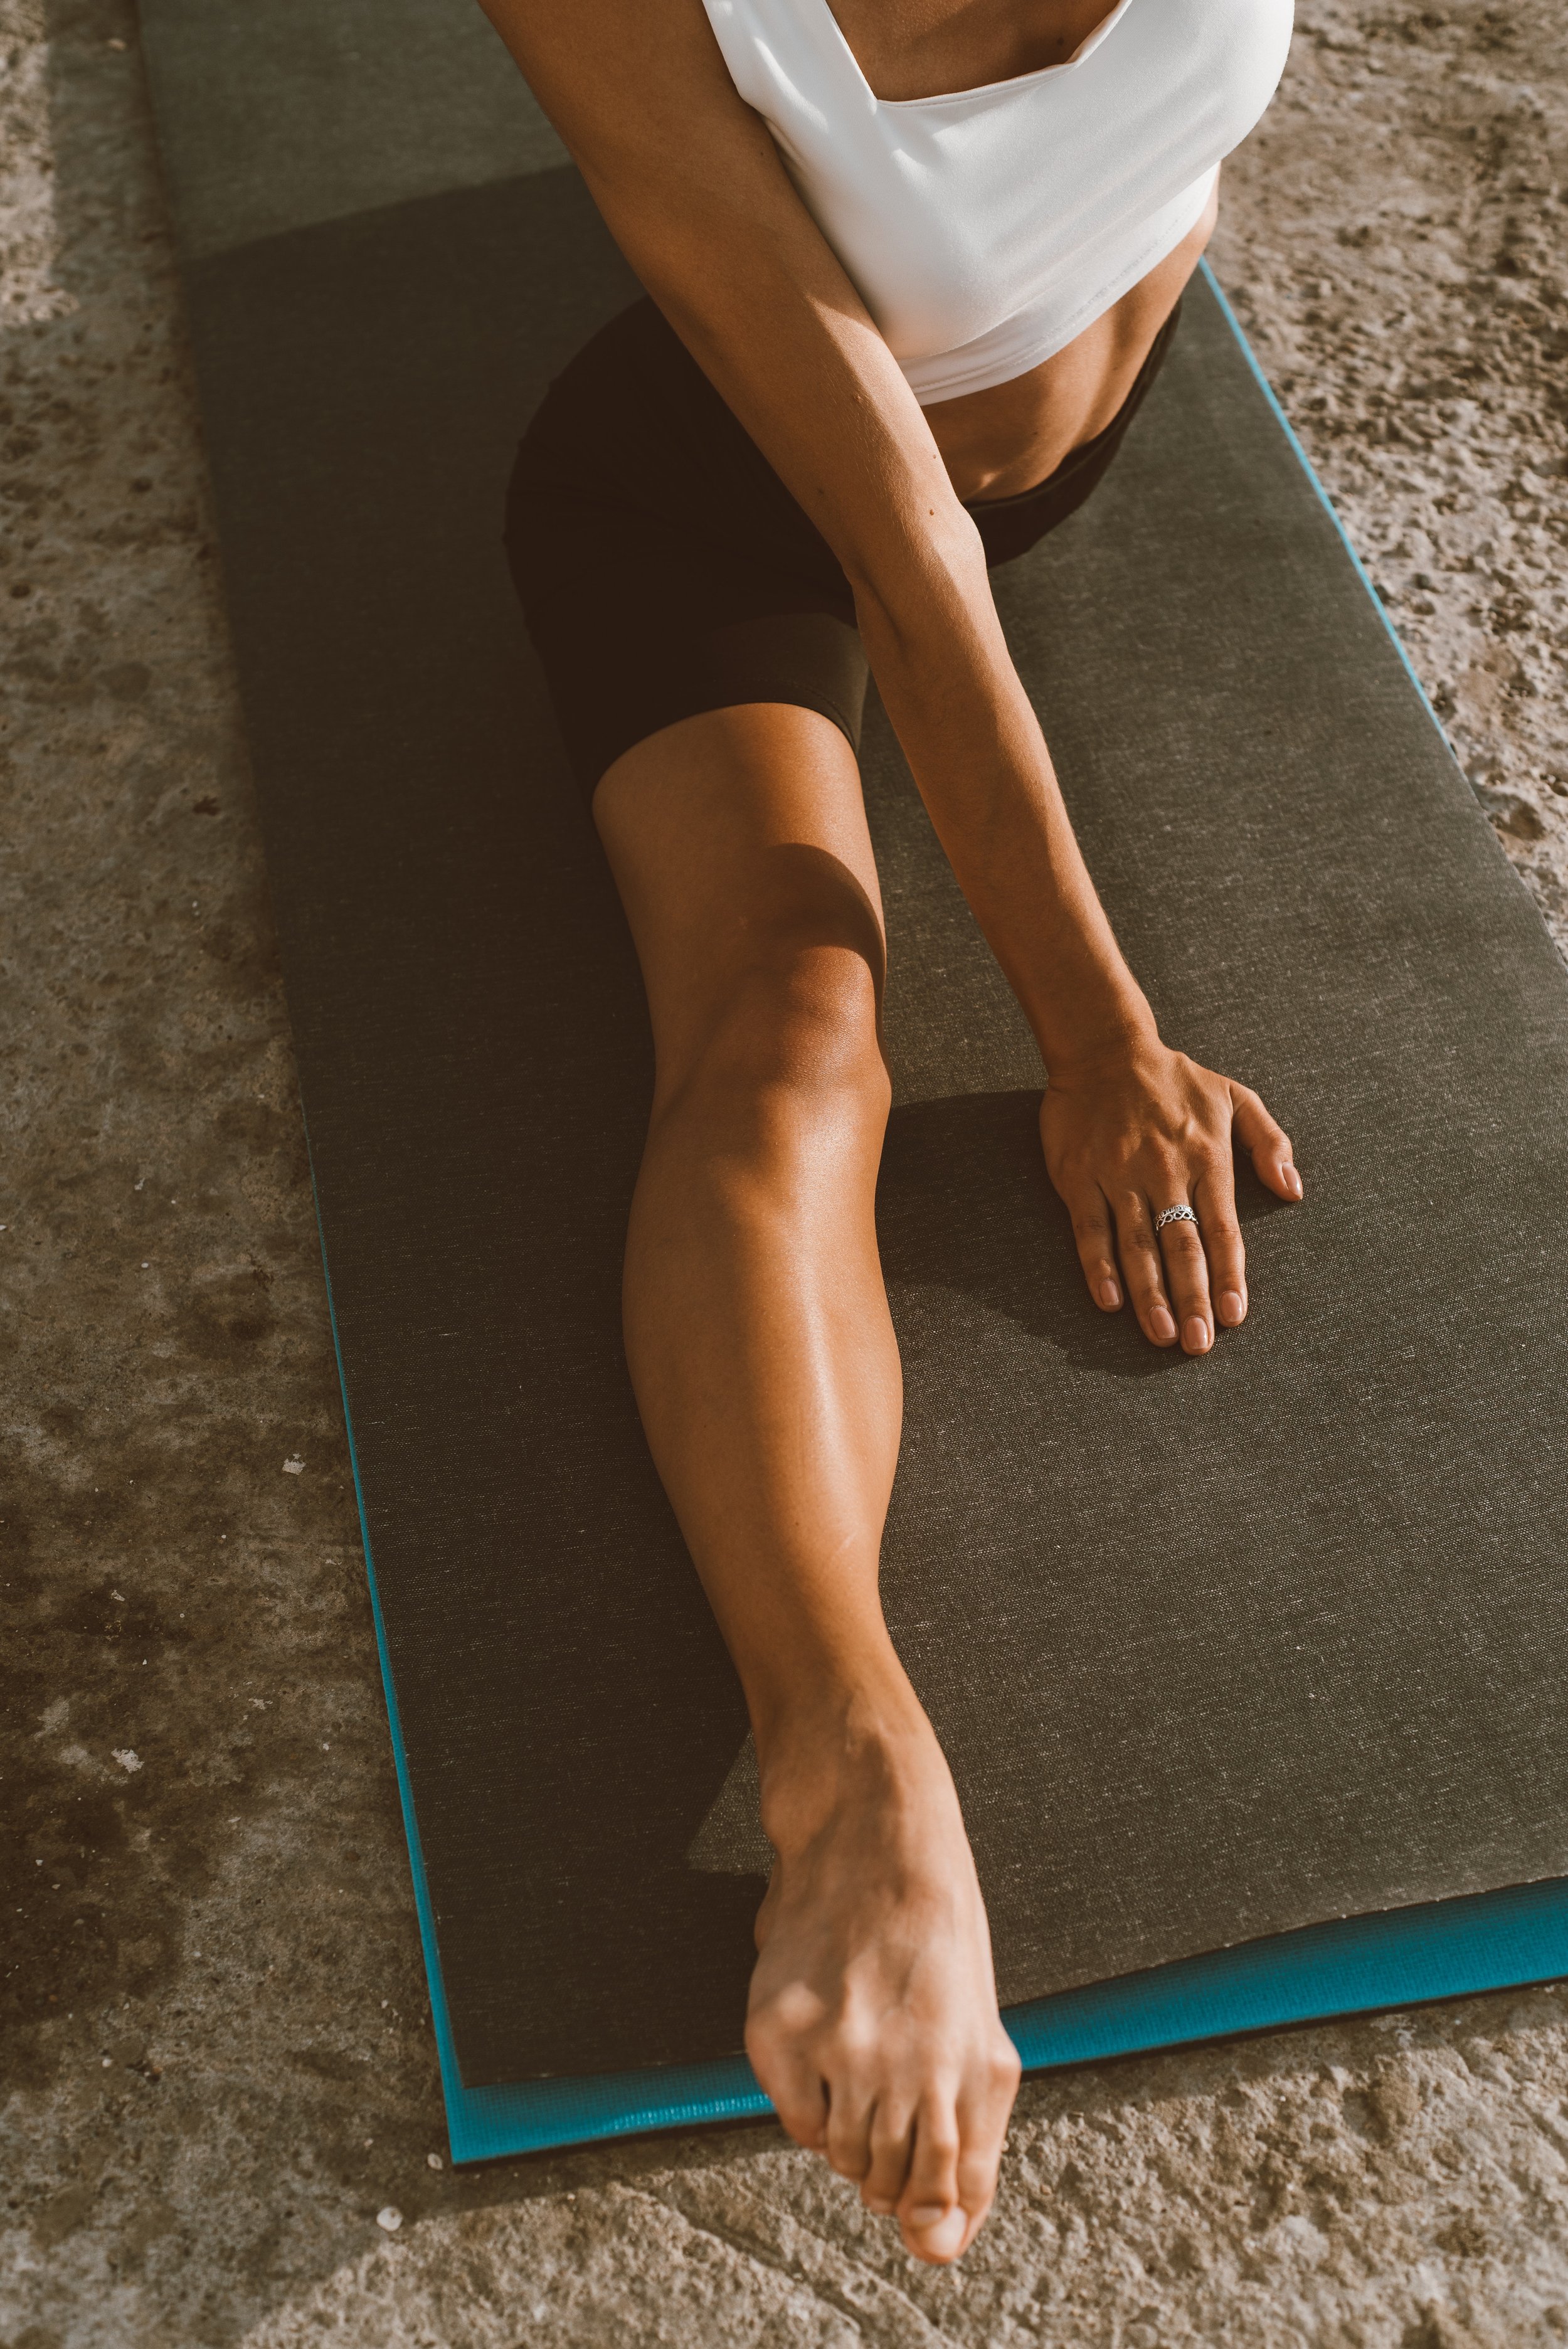
4. Head to Knee Pose (Janu Sirsasana)
A restorative and energising pose, head-to-knee pose can bring a nice, deep stretch to your back, hamstrings, groin area and spine. It can help with digestive issues, and it’s great for after a workout or yoga practice.
HOW TO PRACTISE HEAD TO KNEE POSE
Begin seated on the ground, with both legs stretched out towards the front of your mat.
Bring your right leg in and rest your right foot on your inner left thigh.
Flex the left foot, and slowly begin to bend forwards, from the hips, squaring your torso over the extended leg as far as you can go.
Repeat on the other side.
5. Cat-Cow (Bitilasana Marjaryasana)
Cat-Cow pose is great for increasing flexibility in the neck, spine, and the shoulders. It also stretches the back, abdomen, chest and hips. It will strengthen your spine and help release any stiffness and tension in the upper back, lower back, and the neck.
HOW TO PRACTISE CAT-COW
Begin on all fours, with your wrists directly underneath your shoulders and your knees directly under your hips.
Slowly drop the belly, and lift the hips, shoulders and chin up towards the sky.
Slowly begin to arch your back upwards, whilst pressing into the tops of the feet and fingertips. Drop the head, stretching the neck and spine.
Again, drop the belly and lift the chin upwards. Repeat, moving with the breath.
6. Lizard Pose (Utthan Pristhasana)
Lizard pose is a great pose for releasing and stretching out tension in the hips, hamstrings, groin and quadriceps. It gives a deep hip opening stretch, and it also feels calming and helps with focus. There are many variations for Lizard pose, so find what feels good for you.
HOW TO PRACTISE LIZARD POSE
Begin in a plank pose, with your arms straight.
Bring your right foot up to the outside of your right hand, coming into a low lunge, your knee should be bent at a 90-degree angle.
Keeping the back knee lifted, you may stay here with the arms straight and chest forward. If you want even more of a stretch, bring your forearms to the ground, keeping the head and neck in a neutral, relaxed position, and breathing deeply.
Repeat on the other side.
To create more stability within this pose, drop the back knee.
7. Low Lunge (Anjaneyasana)
Low lunge pose is a hip-opening pose that helps you with proper alignment, as you improve your balance and posture. There are loads of variations of this pose, so find what works best for you. It’s an easy asana to transition in and out of from different yoga poses.
As well as hip flexors, this pose also stretches and strengthens the ankles, helping you to have more stability on your feet.

HOW TO PRACTISE LOW LUNGE
Begin in downward facing dog.
Drop the hips into a plank pose, and bring your right foot towards the front of your mat, into the space between your hands, and lower the back knee.
There are many variations with this. You may choose to keep your hands on the ground here, come onto your fingertips reaching the chest forwards, or lift them above your head.
8. Plow Pose (Halasana)
Plow pose helps to relieve and prevent any tightness in your back, shoulders and neck. It also strengthens the legs, arms and the shoulders. Practising this pose loosens the spine, helping to ease tense muscles.
HOW TO PRACTISE PLOW POSE
Begin by lying down on your back with your upper back on a sturdy folded blanket, and your head resting on the mat.
Exhale and draw your lower belly in towards your spine, with your back firm against the mat.
Press your arms into the floor, inhale and slowly begin to lift the legs up over your head and the feet towards the floor.
Once you are here, stretch out through the heels.
Hug the shoulder blades in towards each other for support, keep your chin slightly lifted and if you need to, place your hands on the lower back for support.
Press up through the arms, shoulders, and feet if they are on the floor.
Keep your spine lengthened, tailbone reaching to the sky, and hips over your shoulders.
9. Standing Forward Fold (Uttanasana)
Standing Forward Fold (or Uttanasana), is a great addition to any Yoga routine, as it is a straightforward pose to learn. It can help stretch out tight hamstrings (a great post-workout stretch), extend the spine and improve your posture.
It’s also an excellent stress-relieving pose, helping to calm the mind.

HOW TO PRACTISE STANDING FORWARD FOLD
Begin in mountain pose, standing tall and anchoring through all four corners of the feet to the ground.
Reach your hands and arms up and overhead, then begin to reach all the way forwards towards the ground.
Let your upper body relax, and bend the knees a bit here if you need to.
You may grab the elbows and rock from side-to-side, grab the back of the ankles, or let the arms hang loose. Breathe deeply.
*Please do not attempt any Yoga poses that you are not ready for. Start slow, always warm up first and consult a health professional prior to practicing if you are unsure.